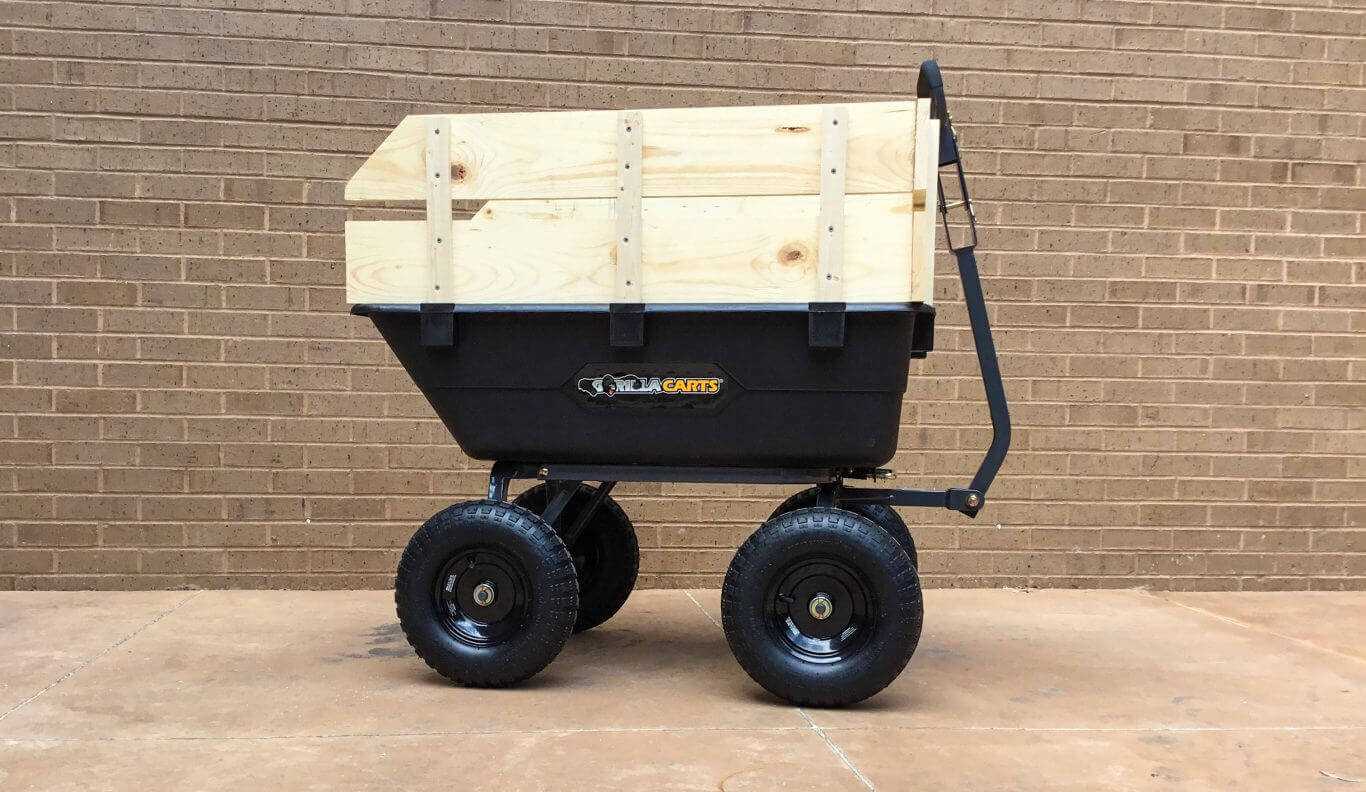
Use this inexpensive Stake Out Side update to increase cubic foot capacity
Disclaimer: This stake out project was easy enough that we had our newbie DIYer complete it. It’s that simple!
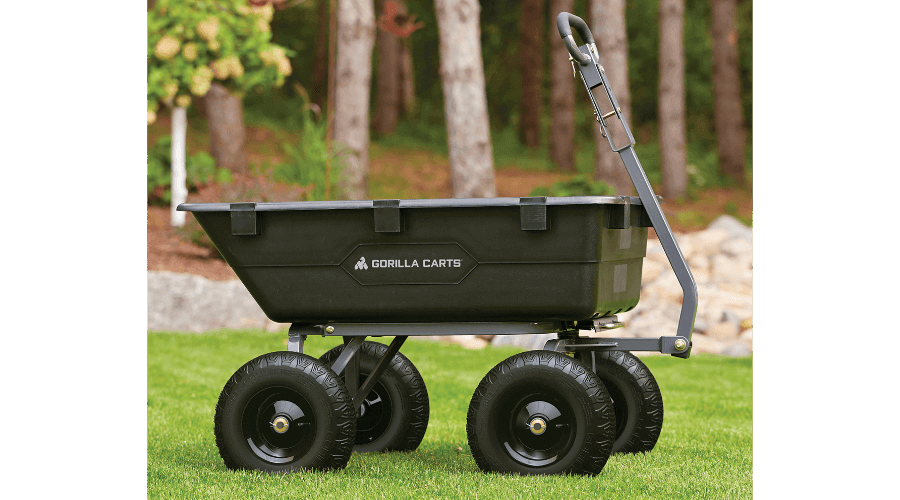
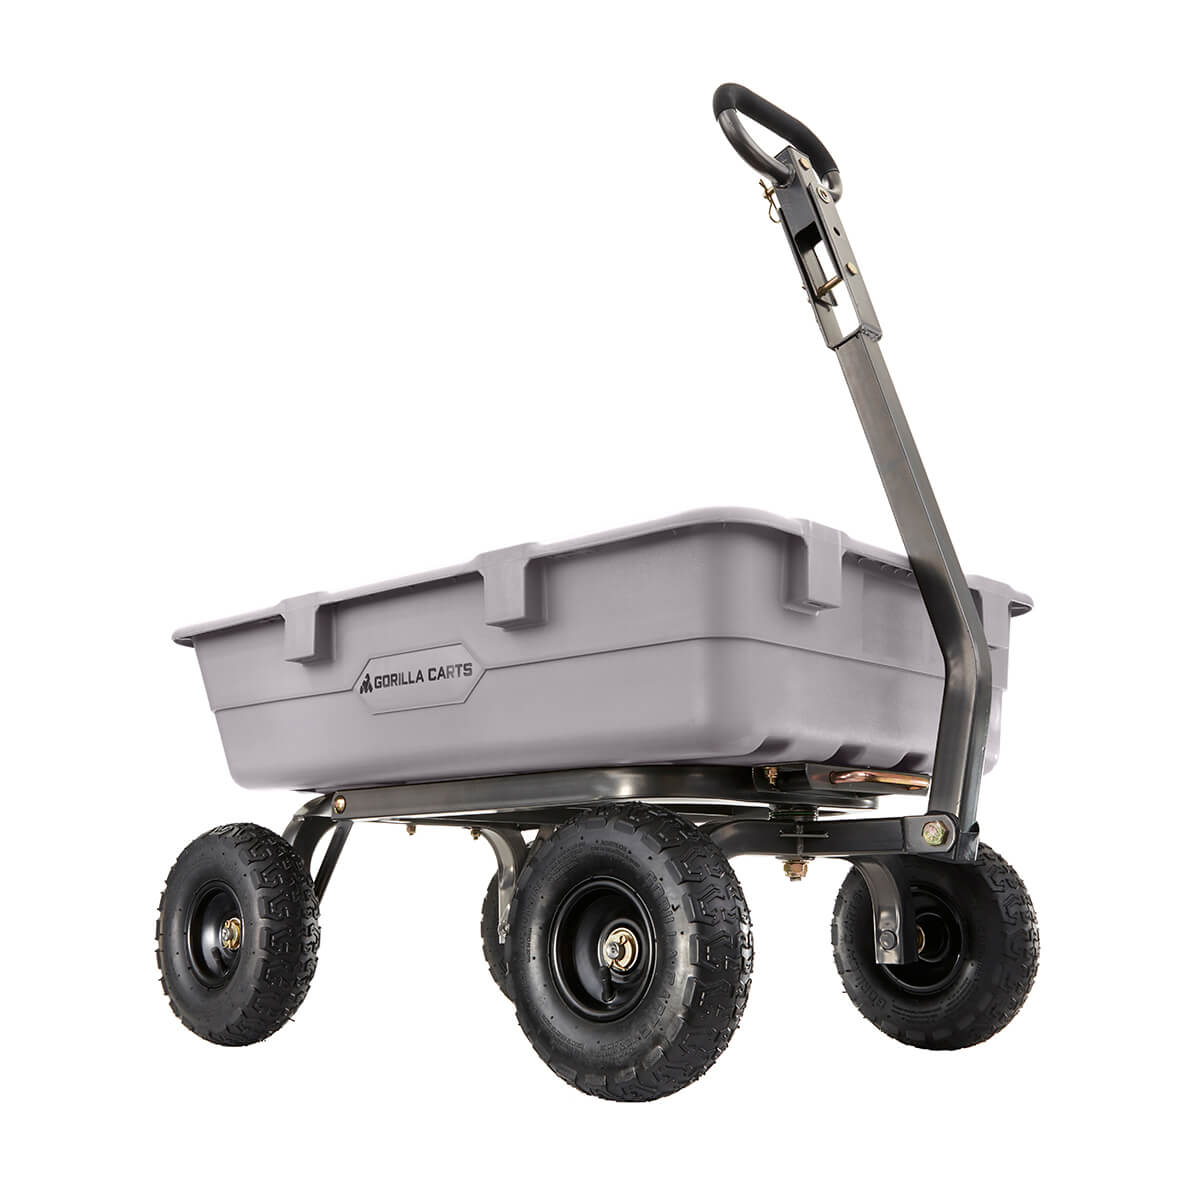
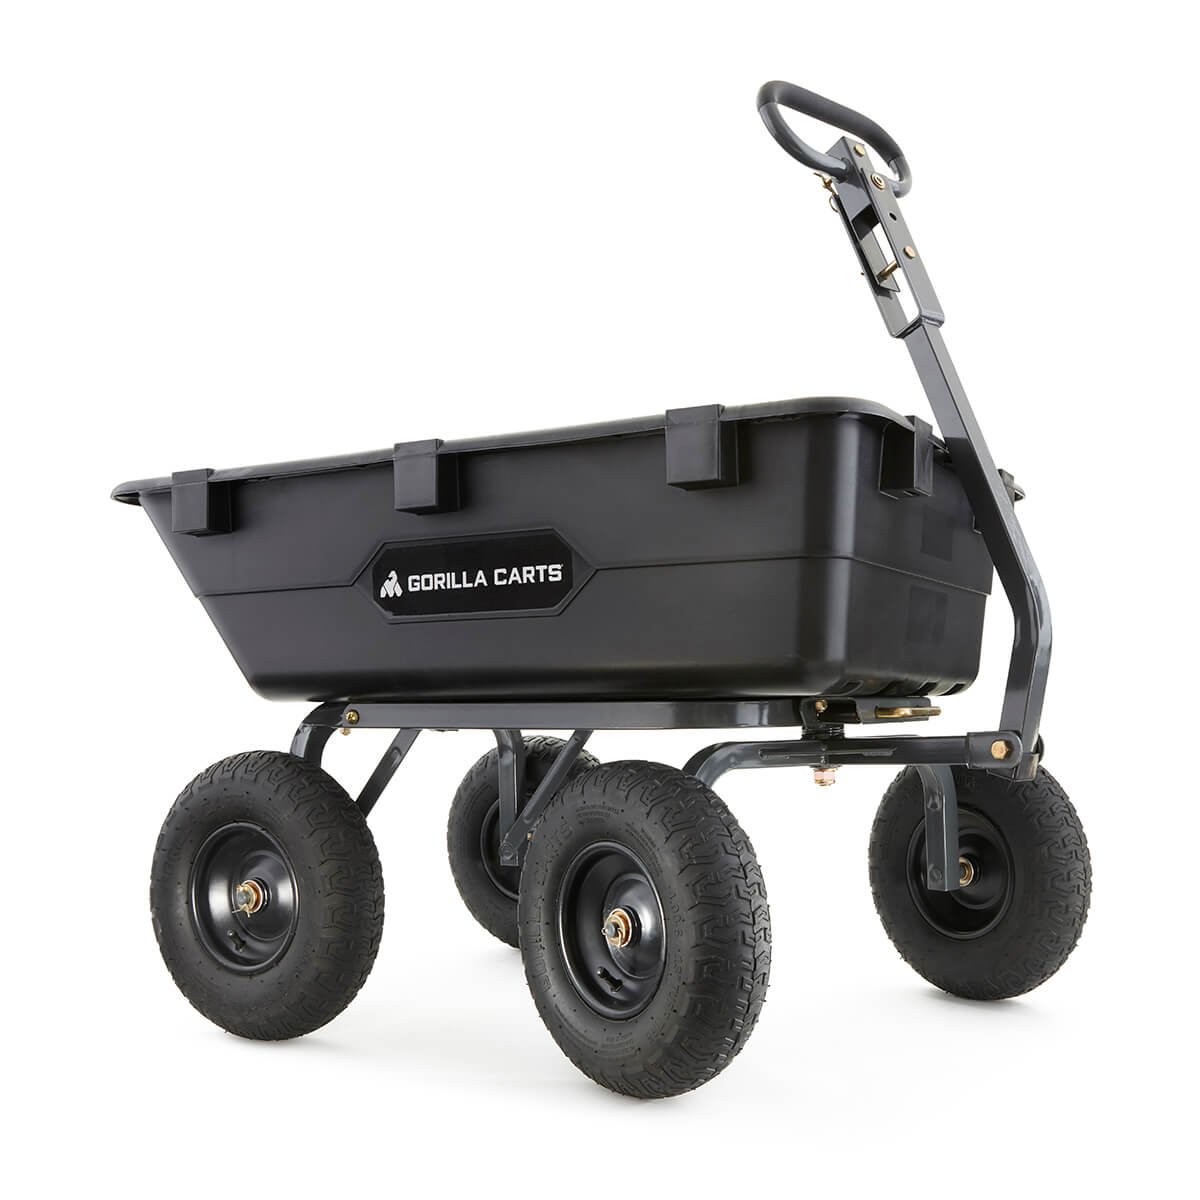
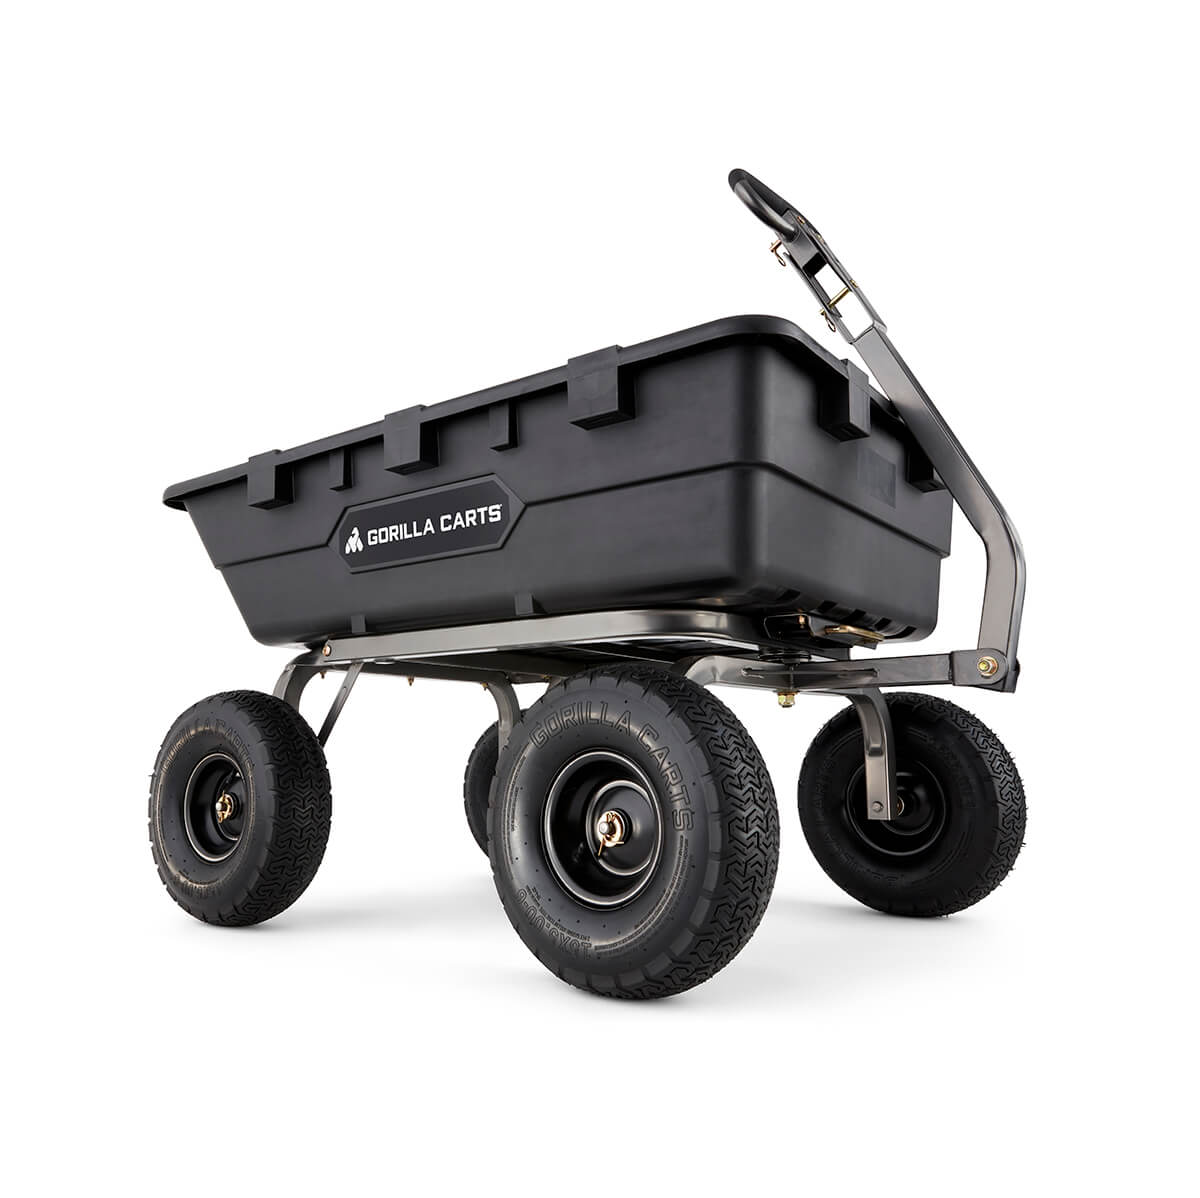
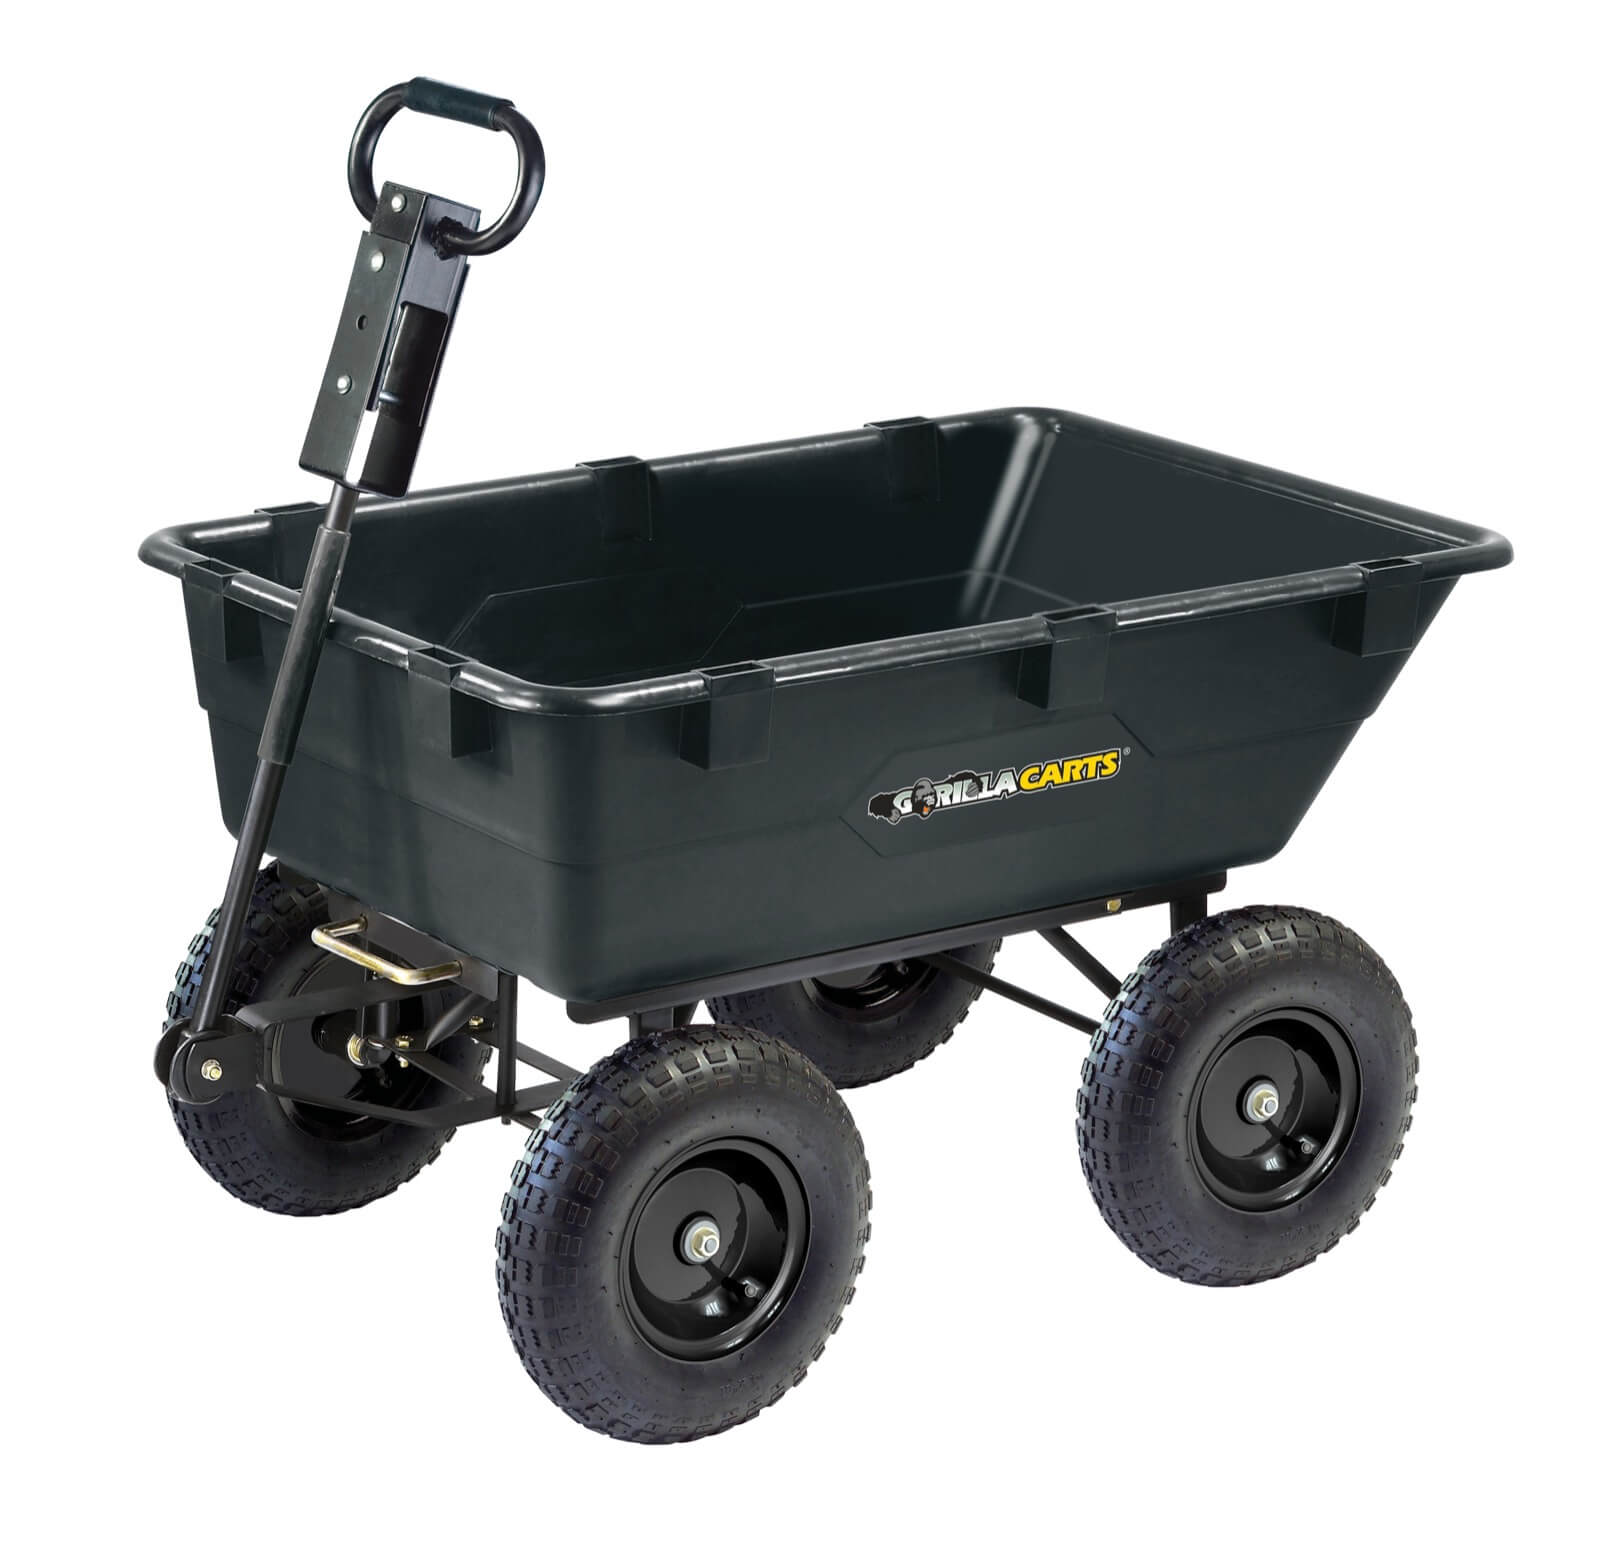
Every dollar and cubic foot counts in today’s world, so it’s important to get the most use out of everything you buy. Most of the Gorilla Carts Heavy Duty Poly Dump carts come with pockets on the sides to build stake out sides. While our directions below are specifically for the GOR-6PS, the process of building the extenders are the same. The specific dimensions below are also applicable to our discontinued GOR-866D. The GOR10-COM and GOR5-COM have the capability for this upgrade, but measurements will be different for these models.
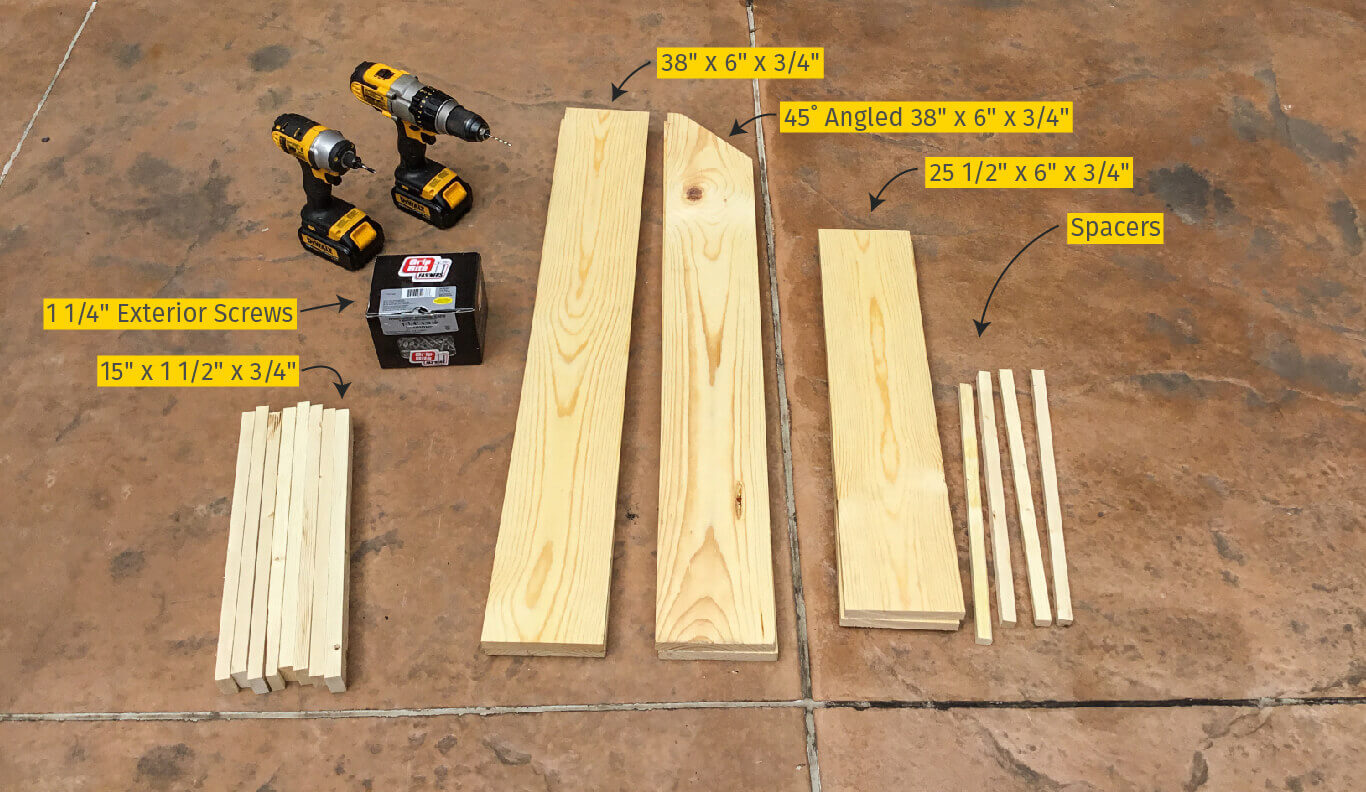
Gather your materials
All of the materials can be found at your favorite local hardware store or home center. If you ask, the lumber department will cut your boards to size for free. (Other hardware stores may charge a fee per cut, but it’s worth not having to cut the boards yourself if you’re not power tool savvy.)
- (2) 38″ x 6″ x 3/4″ pine planks
- (2) 38″ x 6″ x 3/4″ pine planks with a 45 degree angle cut off one corner (optional)
- (2) 25 1/2″ x 6″ x 3/4″ pine planks
- (8) 15″ x 1 1/2″ x 3/4″ pine planks
- Drill
- Phillips head bit
- Carpentry drill bit (1/8″ should do it.)
- (40) 1 1/4″ exterior screws (The coating prevents rusting)
- (15) Flat washers
- Spacers (optional, but helpful. We used leftover wood from our cuts, but you can use any spare wood or material around 1 1/2″ wide)
Other tools you will need
For this project, we used a table saw to cut the 45 degree angle on the back of the top side planks, but a chop saw with an angle adapter, circular saw, or hand saw will do the trick.
Step 1: Lay out your materials
Before you attempt any cutting, lay out your boards. Make sure you have all of the boards in the correct places before drilling. This is a good time to see and correct any pieces that don’t fit quite right.
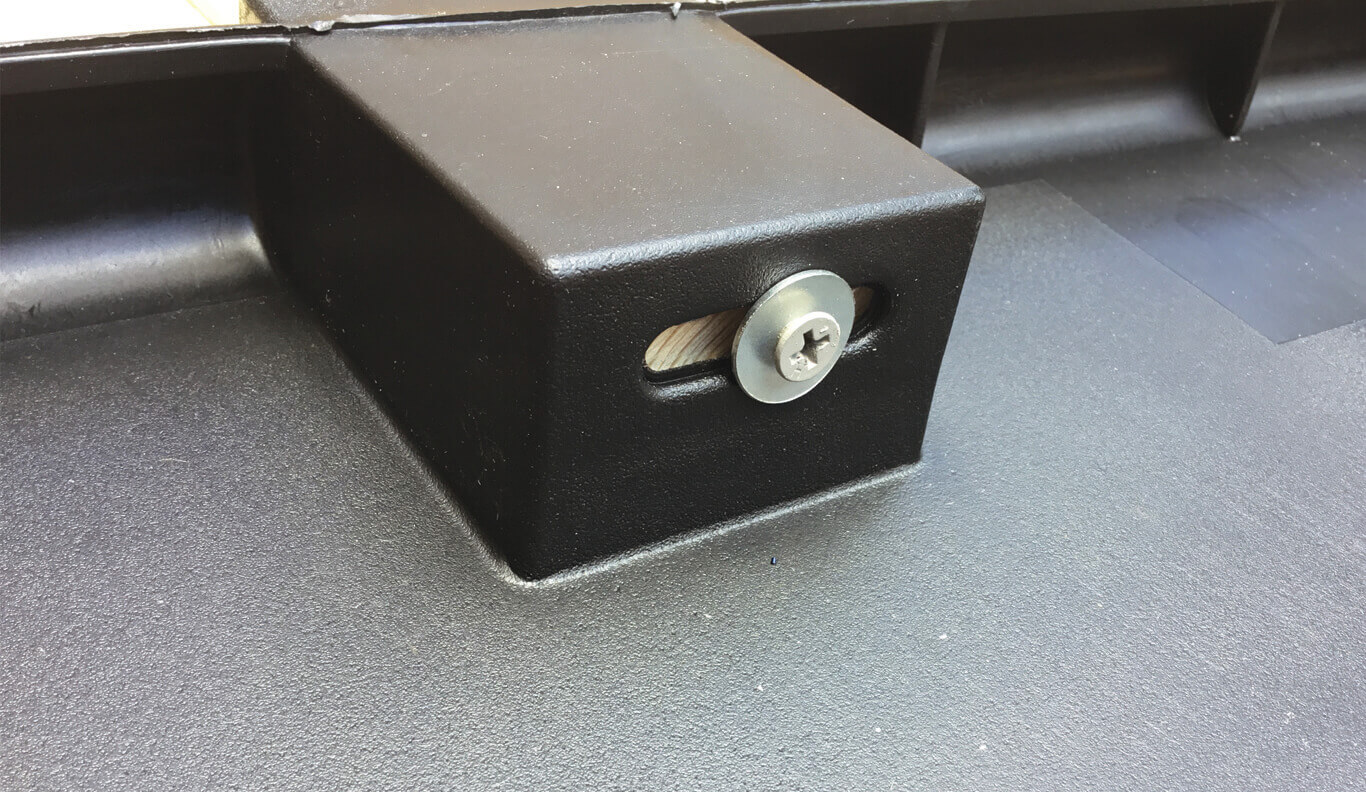
Step 2: Drill screw holes and attach planks to pockets
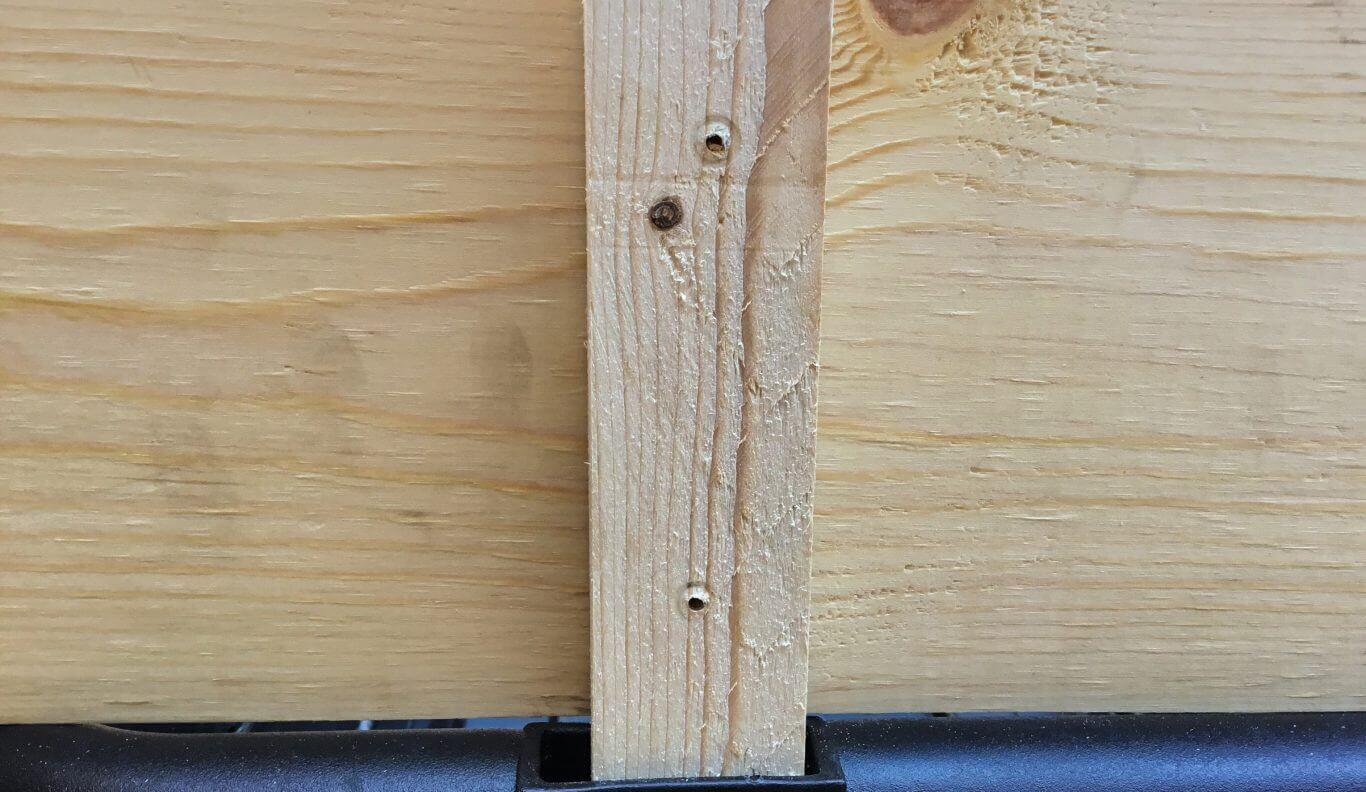
Drill one hole per 15″ plank on the bottom. Use a flat washer with the screw so the sides won’t fall out. If you don’t drill the holes, you risk the wood splitting (we learned the hard way.) Screw in the stakes to the pockets on the bottom.
Step 3: Assemble the front panel
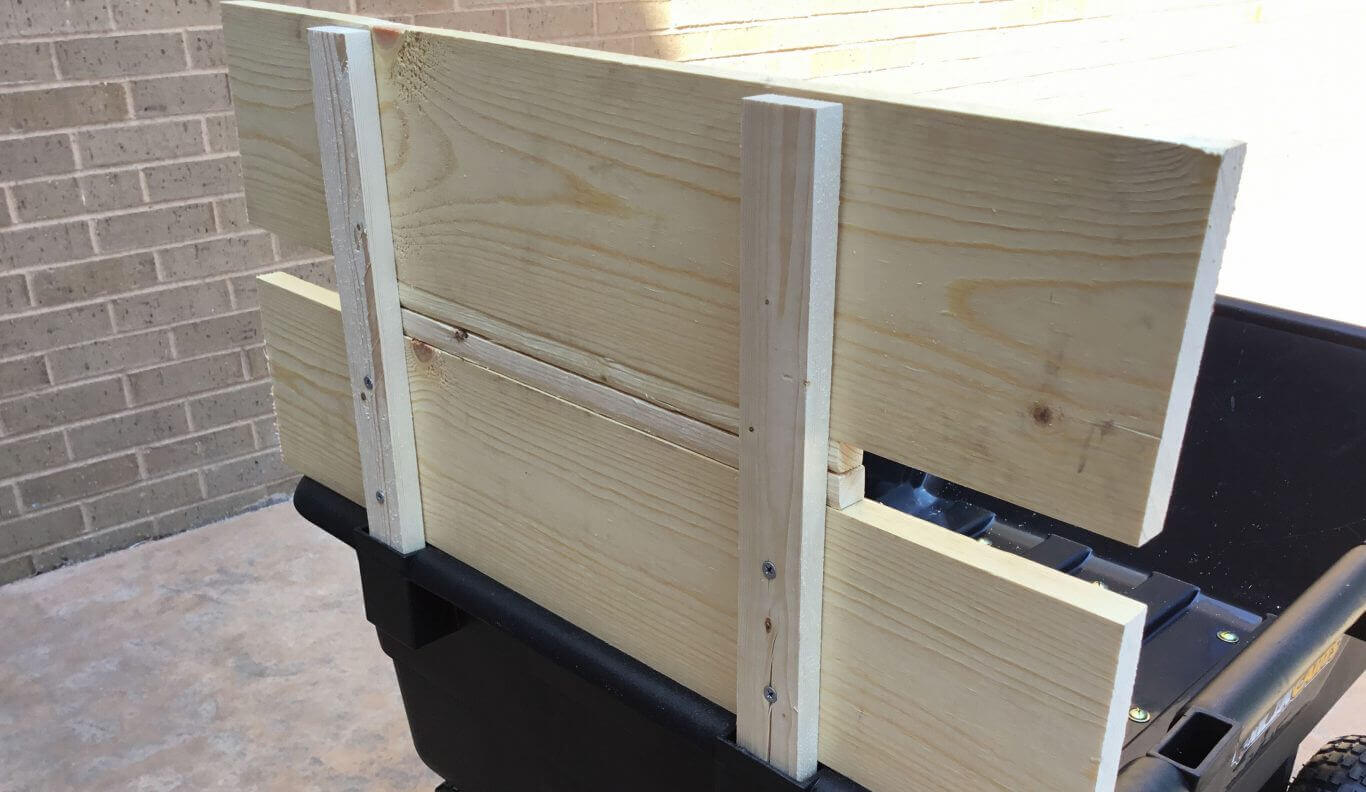
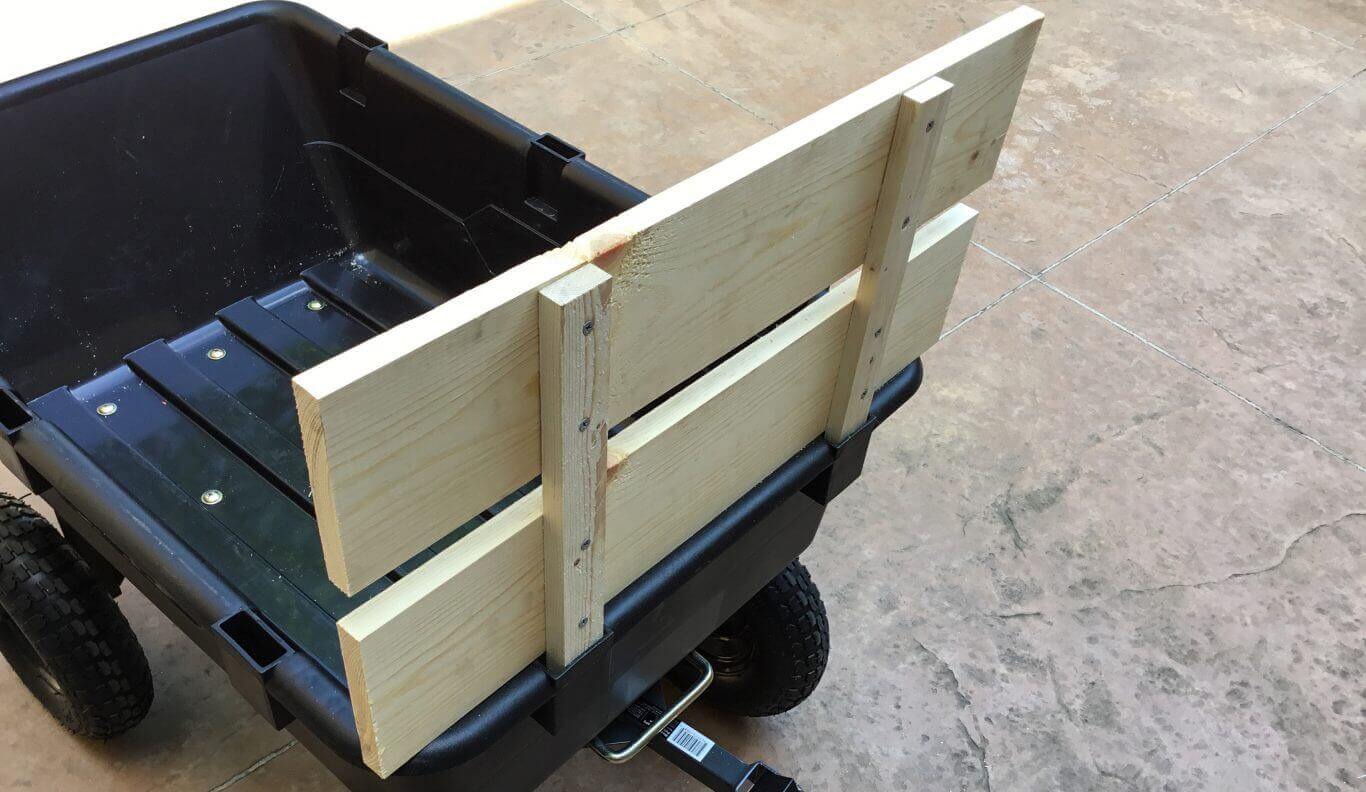
Take one of your 25 1/2″ planks and center it, tub side of the stakes. Hold both the plank and stake steady as you drill a hole straight through both pieces of wood. Drill one screw in and repeat the process for both stakes.
Place your spacer on top of the plank, and repeat the process with the other 25 1/2″ piece. Remove the spacers.
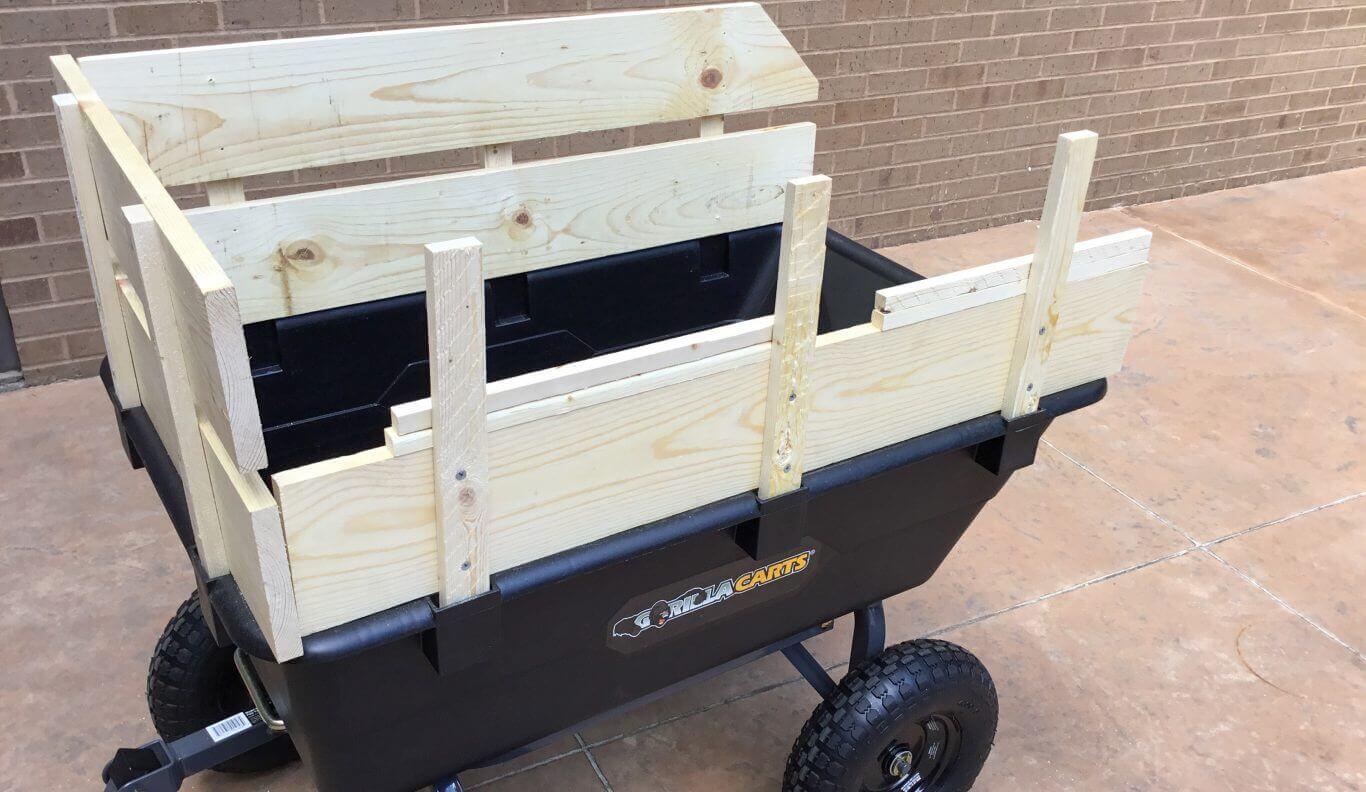
Step 4: Building the sides
Use the same process as you did in Step 3 to assemble the side pocket, starting with the straight 38″ planks. Place the spacers and drill in the top slanted pieces. Remove the spacers, and repeat the process on the other side.
That’s it! Congratulate yourself on a job well done.
Products Mentioned In This Article
Other Posts Like This
3 Gorilla Carts That Will Make Your Life Easier

4 Tips To Make Your Garden Beautiful This Winter

4 Tips to Make Your Lawn Look Beautiful This Spring – Part 1